The main reason Amazfit users want to sync their watch with Strava is to get the most accurate data.
It allows you to sync your fitness data from the Amazfit app to Strava. This is great for those who are looking for a way to track their fitness progress and share it with the community of Strava users.
If you want to sync your Amazfit with Strava to enjoy the benefits, here’s the ultimate walkthrough on how to do it. Let’s Dive In!
You Might Like | How to Sync Amazfit or Zepp Data to Google Fit? (Fix Sync Issues)
Table of Contents
Can Amazfit Work with Strava?
Amazfit is compatible with Strava. It uses the official Zepp app (formerly known as Amazfit) to sync activities so all of the data from both apps are accessible in one place. All you need to do is; download the Strava app on your phone and then connect it to Amazfit through Zepp.
Regardless of what Amazfit model you have, Strava can be paired with any Amazfit model, including Amazfit Bip, GTS, GTR, Neo, T-Rex, Verge, and Pace.
How to Sync Amazfit with Strava (Quick Walkthrough)
Step 1: Prepare for Syncing
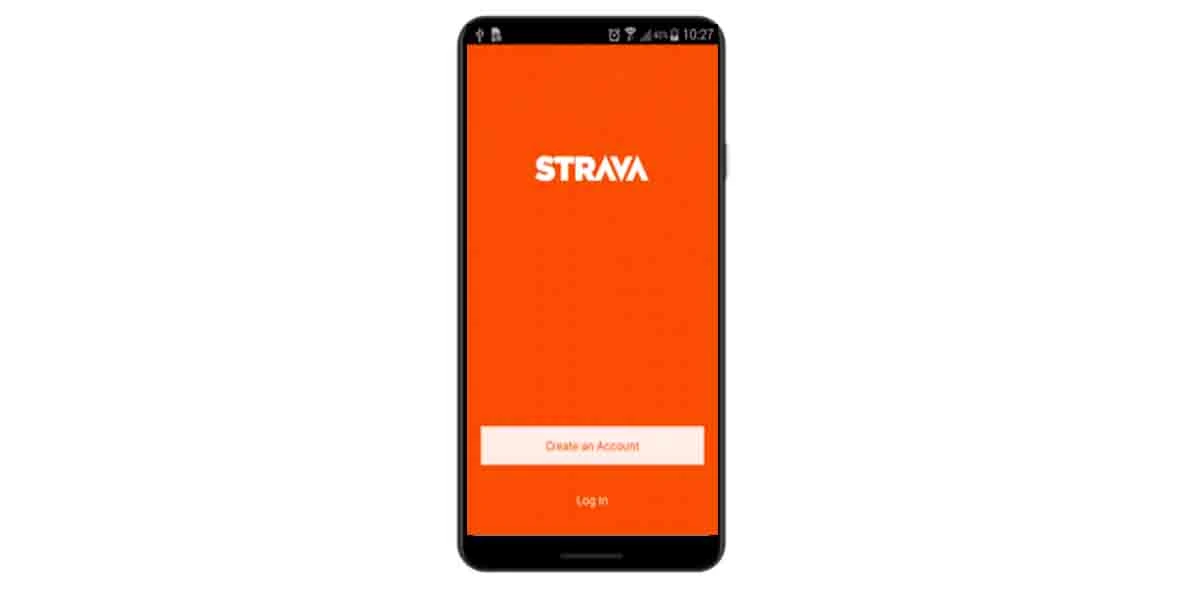
To begin, make sure you download the Strava app and sign up for an account. Also, ensure that your Amazfit is paired with the official Zepp app.
Step 2: Add Strava Account to Zepp
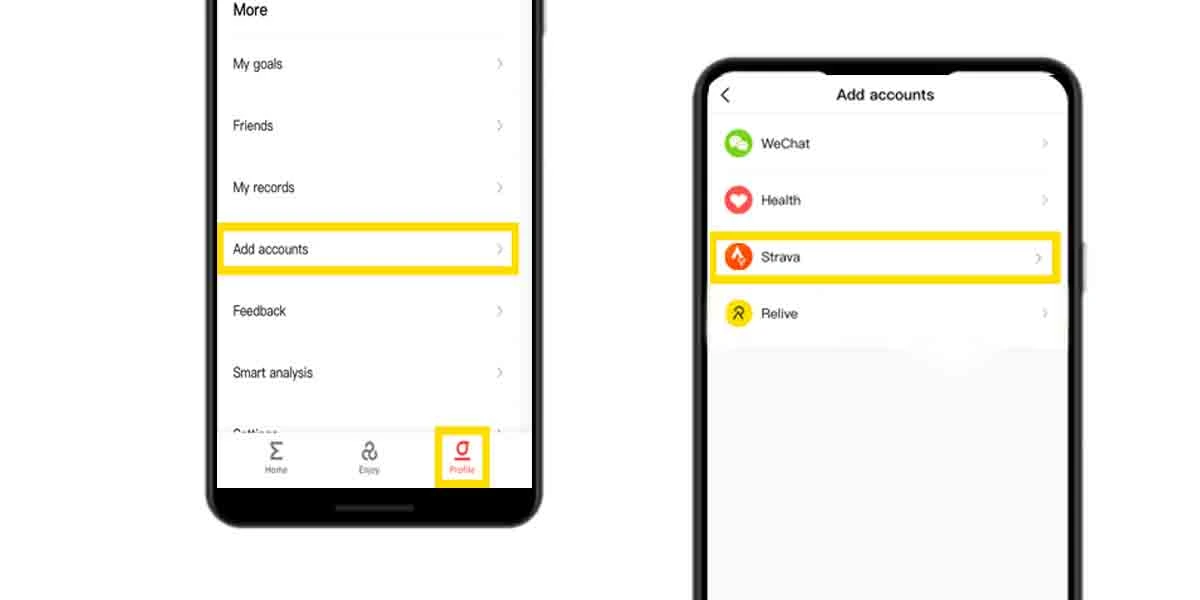
To sync Amazfit with Strava, you’ll need to add your Strava account to the Zepp app. Open Zepp app > Go to the “Profile” tab > Add Accounts > Select Strava.
Step 3: Authorize Permission to Upload Activities
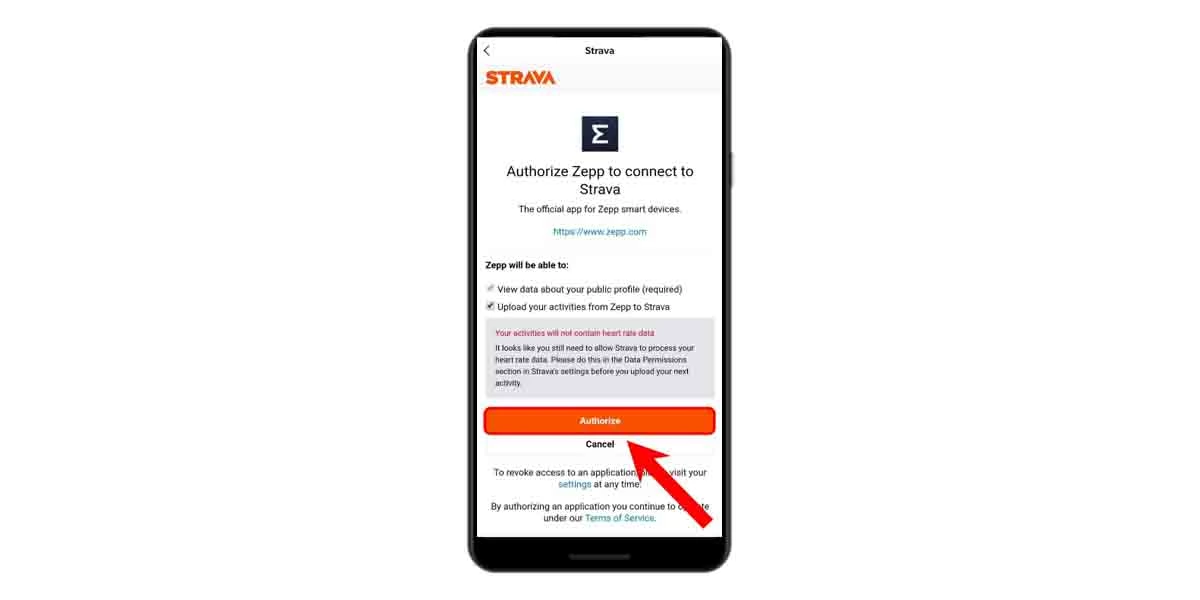
On the next page, log in using your Strava account. You’ll be asked to authorize Zepp to upload activities to Strava. Ensure you got a checkmark on “upload your activities from Zepp to Strava.” And then, Tap “Authorize”
Step 4: Verify Connection & It’s Done!
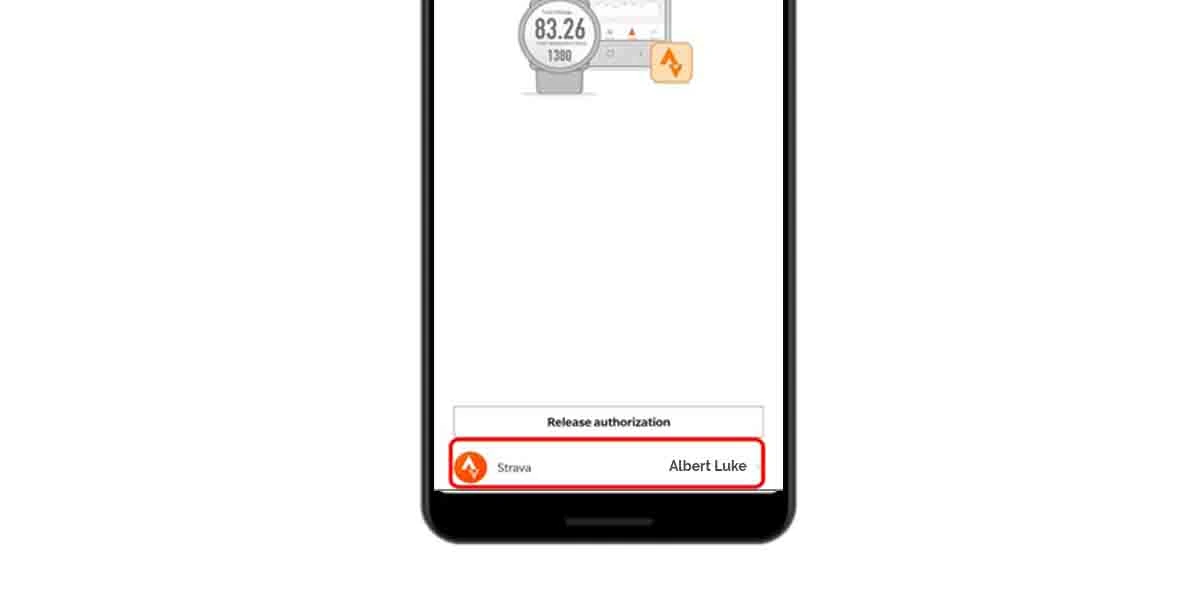
Once authorization is complete, check if your username is showing near the Stava connection. If it does, Strava App will now automatically sync all activity data from your Zepp app.
Tips to Fix Amazfit & Strava Sync Issues
The issue of Amazfit not syncing with Strava can occur sometimes. This can be due to many reasons, including:
- Your watch may not be connected to the phone via Bluetooth.
- Your watch may have been disconnected from Strava for some technical reason.
- Bad data coverage areas can cause sync issues.
- Strava server-side issues can cause sync delays.
To resolve these problems, you should always try some troubleshooting methods on your own. Check out these tried-and-true methods below:
Check Strava Server Status
There is a possibility that the Strava server is not available right now. This can happen when the server is overloaded, down, or unreachable due to some network issues, causing your Amazfit to not Sync properly. In this case, you should keep an eye on when the servers are back online.
Thankfully, Strava has a page where you can check the real-time and historical data of their server’s performance. Visit status.strava.com to know the current status.
Check Permissions
Zepp and Strava require certain permissions to upload and receive activities data. Granting these permissions helps ensure smooth sharing of activities between Strava and Zepp.
Amazfit might not sync if these permissions are not granted.
To check on your phone, Open Settings > Go to Applications > Search for the Strava and Zepp. Check the permissions section of each app to ensure that all permissions have been granted. That’s all.
Check Your Data Coverage Area
Strava and Zepp need an active internet connection to load, refresh or sync data between them. If syncing fails, check whether you’re within a good data coverage area.
Disconnect & Re-sync
Disconnecting and resynchronizing the connection between Zepp and Strava is yet another solution that is usually effective for many. You can try unauthorizing the Strava (Log out) from the Zepp app and then reauthorize using the same process discussed above.
Note: If it doesn’t work, uninstall both apps and start the syncing process again.
Try Manual Exporting .GPX file
If nothing works, all you can do is manually export data from Zepp to Strava. To manually export data, you will need a GPX file from your phone’s internal storage.
For more clarity, a GPX file is a text-based XML file that contains information about the route, such as the coordinates of the start and endpoints, elevation data, and other data recorded by your watch.
Here’s how to manually export Amazfit Data to Strava:
Step 1: Export the GPX file from the watch
- Firstly, you’ll need to export the GPX file. For that, Swipe left on watch face to acess Activities > Select Activity > Swipe left to Export.
- On successful exporting, you’ll find GPX file located in folder “/sdcard/gpxdata”
- Copy the GPX file to your computer through a USB cable.
Step 2: Upload the GPX file to Strava
- Log in to Strava through its official website (not app.)
- Once logged in, hover to the top navigation menu > Tap “My Routes” > Create New Route.
- On the next page, click on the upload button and choose the GPX file you wish to upload. Once you’ve finished, click Save. That’s done!
Read More On Amazfit